There’s something about rhubarb that makes me excited every spring. The moment I spot those bright pink stalks at the market or in my garden, I know it’s time to make these delicious Rhubarb Bars.
This is one of my all-time favorite recipes because it’s easy, fuss-free, and gives the perfect balance of sweet and tangy in every bite.
Let me walk you through this simple and rewarding recipe, step by step.
Why You’ll Love These Rhubarb Bars
Whenever I make these bars, they disappear faster than I expect. And here’s why I think you’ll love them too:
- They’re wonderfully sweet and tart at the same time.
- The buttery shortbread crust melts in the mouth.
- They’re super easy to make—even if you’re not an experienced baker.
- Perfect for spring and summer gatherings—or just to treat yourself.
Ingredients You’ll Need
For the shortbread crust:
- 1 cup (2 sticks) unsalted butter, cold and cubed
- 2 cups all-purpose flour
- ½ cup granulated sugar
- ¼ teaspoon salt
For the rhubarb filling:
- 3 large eggs
- 1 ½ cups granulated sugar
- ½ cup all-purpose flour
- 4 cups fresh rhubarb, chopped into small ½-inch pieces
Optional:
- Powdered sugar, for dusting on top
I always use fresh rhubarb when it’s in season—it brings out the best flavor—but frozen works too. Just make sure to thaw and drain it well before using.
How to Make Rhubarb Bars
1. Preheat and Prep
I preheat my oven to 350°F (175°C) before I start anything else. Then I line a 9×13-inch baking pan with parchment paper or lightly grease it with butter. Trust me, this makes cleanup so much easier later.
2. Make the Buttery Shortbread Crust
In a large bowl, I mix together flour, sugar, and salt. Then I add the cold butter cubes and use a pastry cutter (or my fingertips) to blend everything until the mixture looks like coarse crumbs. It takes a few minutes but feels so satisfying to see it come together.
I press this mixture firmly into the bottom of the prepared baking pan, making sure it’s even. This base bakes in the preheated oven for about 15-20 minutes, until lightly golden around the edges.
While the crust is baking, I get the filling ready.
3. Prepare the Rhubarb Filling
In another mixing bowl, I whisk together the eggs and sugar until smooth. Then I stir in the flour—this thickens the filling nicely.
Once the mixture is ready, I gently fold in the chopped rhubarb. I love how bright and juicy it looks, coated in that sweet mixture. The rhubarb softens just enough during baking but keeps a slight bite, which I find perfect.
4. Assemble and Bake
As soon as the crust is out of the oven, I carefully pour the rhubarb filling over it and spread it evenly with a spatula. Then it all goes back into the oven for another 40-45 minutes.
I watch for the filling to set—it should look firm and golden on top, and when I gently jiggle the pan, there shouldn’t be any liquid movement. That’s when I know it’s done.
The hardest part for me? Waiting for the bars to cool before cutting! But patience pays off.
5. Cool and Serve
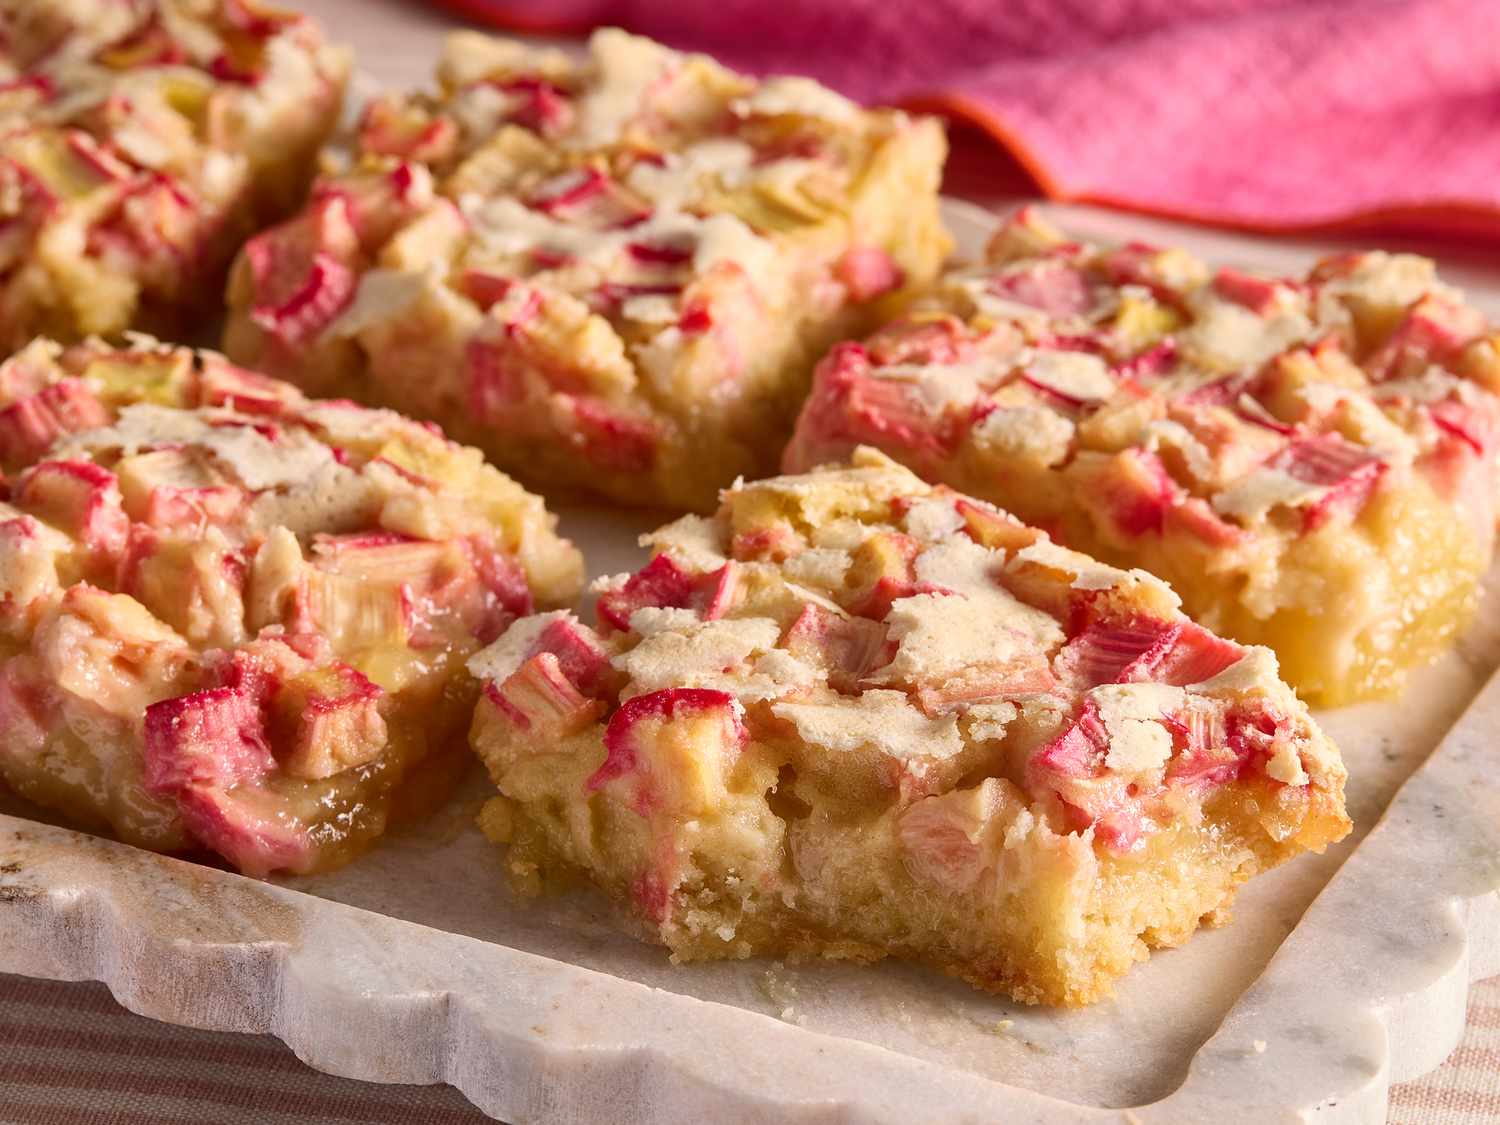
I let the bars cool completely in the pan. This takes about an hour—but honestly, I often get tempted and sneak a warm corner piece. Once cool, I lift the bars out (thanks to the parchment paper) and slice them into squares.
For a finishing touch, I dust them lightly with powdered sugar. It makes them look so pretty, like bakery treats.
Tips for the Best Rhubarb Bars
- Cold Butter is Key: The crust turns out extra flaky when the butter is cold. I sometimes even chill the flour beforehand.
- Fresh Rhubarb Works Best: Frozen rhubarb can make the filling watery, so I always drain it thoroughly if using frozen.
- Don’t Overbake: The filling should be set but not overly dry. A slight wobble in the center is fine—it will firm up as it cools.
- Customize It: I’ve added a touch of vanilla or lemon zest to the filling before for an extra layer of flavor. Both work beautifully.
Storage
These rhubarb bars stay fresh for up to 3 days in an airtight container at room temperature. I sometimes pop them into the fridge if I want them to last a bit longer—though honestly, they rarely make it past the second day in my house.
You can also freeze them. Just wrap individual bars tightly in plastic wrap and freeze for up to 2 months. Thaw them in the fridge overnight before serving.
Variations I’ve Tried
I like to play around with this recipe depending on my mood:
- Strawberry-Rhubarb Bars: Adding diced strawberries to the filling gives a sweeter, fruitier flavor that pairs perfectly with the tartness of rhubarb.
- Coconut Crust: Mixing shredded coconut into the crust gives a tropical twist that I surprisingly loved.
- Oat Crumble Topping: Sometimes I sprinkle an oat crumble (butter, oats, brown sugar) on top before baking for extra texture.
Every time I try something new, these bars turn out amazing in their own way.
Why Rhubarb Bars Are My Go-To Dessert
Rhubarb bars are more than just a recipe to me—they’re a small tradition. Whether I make them for a picnic, an afternoon tea, or just because I have rhubarb begging to be used, they never disappoint. The simplicity of the ingredients and the balance of flavors make this recipe a keeper.
I’ve shared these bars with friends, brought them to family dinners, and even gifted them wrapped in little boxes. Without fail, someone always asks for the recipe. It’s one of those foolproof, crowd-pleasing bakes that I can count on anytime.
If you’ve never baked with rhubarb before, these bars are the perfect place to start. They’re easy, beautiful, and delicious—what more could you want? I always get that little spark of joy when I see the pink filling peeking through the golden crust.
Give this recipe a try. I’m pretty sure once you taste these, you’ll fall in love with rhubarb the way I did.